
Welcome to our Abre team!
What is Abre?
Abre is a true education platform used to better manage and support schools, students, and families. With hundreds of thousands of happy users, we provide integrated solutions that address students’ needs within schools and outside of school.
Think of Abre as the operating system of a school.
If you have questions, please don’t hesitate to engage with our support in Abre or visit https://help.abre.io.
Kind Regards,
The Customer Success Team
Milestones are key sections of our playbooks. Think of them as their own micro-project plan.
We need a bit of information from you in order to set up Abre. Things like if you use Google or Microsoft for your email, and what is your Student Information System.
We also need you to accept a Monday.com invite! We use Monday.com for all project planning. It keeps all of us on the same page.
Once Abre has your information, we will:
The Hub acts like the Abre homepage. It is the first thing all stakeholders see when they log in to Abre, so it is important to be intentional about what they land on.

You control the eyes. This is incredibly powerful for a school or district.
We have a playbook focused on “Communication” and setting the narrative.
The Hub is the core of the Abre Platform. Everything in Abre runs on the hub. The hub features single sign-on, shortcuts, integrations, and communications.
Channels allow districts to streamline and organize the information they share through the Abre Hub. Creating multiple channels can give districts and school leaders the means to share the right information with the right stakeholders.
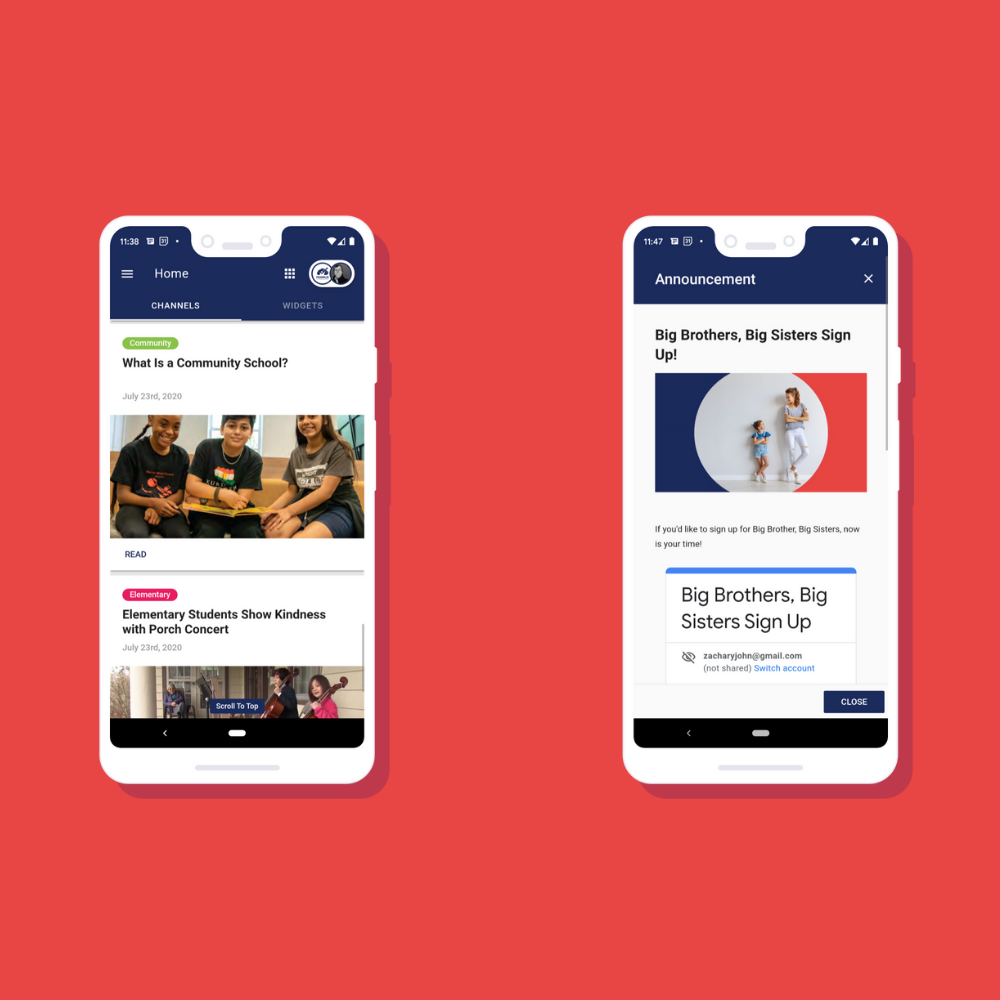
Channels hold and contain announcements. Think of them as a news channel feed.
Channels can be required or voluntary. You can tailor channels to individual stakeholders. You can make channels available to stakeholders of particular buildings.
Typically, channels are grouped by a common theme or topic tailored to a particular audience. For example, you might have:
Channels come in two flavors:
You can assign channels to roles and to buildings.
Start your Abre experience by creating at least three channels for your stakeholders.

You create announcements from the Announcement Editor. You can also view and edit previous announcements in the announcement editor.
Note: To create an Announcement you need to have Abre “System Admin Permissions”, “Communications Administrator” or “Communications Administrator (Building)” enabled. If you need permissions enabled contact your Abre System Admin.
We typically recommend that someone own announcements in your building. For example, it could be a media teacher, building secretary, or an administrator. (Some schools even set up systems for students to create the announcements.)

Headlines are ways to capture a user’s attention. They’re announcements on steroids and help schools obtain full compliance on important information. Users must review the information before they can move into other areas of Abre.
Selecting an “Action Required” within a Headline creates an additional dialogue. Users need to confirm they have read or completed the action within the headline. This assures full compliance.
We encourage to try creating one headline to see how they work. Then consider use case scenarios for them. Some common examples:

Shortcuts are links to other 3rd party websites and apps. They are very handy as they put all your school and district resources in one central place. You can customize who sees what shortcuts. You can create shared shortcuts or create individual shortcuts.
Some important things to note about Shortcuts:
Take some time to add your district level shortcuts.

Abre integrates with your Student Information System and with other key software providers. Integration can be done via:
The choice of “what type” of data integration involves a bit of investigation as there can be a number of factors in play considering the student information system.
It’s always best to have a conversation with your Customer Success representative.